Installing wire fencing can be easy when using a staple gun. Staple tools secure fencing to wooden posts and create a strong, reliable hold. Whether you work on a farm, build animal enclosures, or secure property perimeters, a staple gun helps you complete the job faster than manual stapling methods. Learn how to use staple guns to attach wire fencing.
Choose the Right Staple Gun for Wire Fencing
Selecting the right staple gun gives secure and long-lasting results. Consider project size, wire gauge, and personal comfort when deciding between manual, electric, and pneumatic staple guns.
Manual Staple Guns
Manual staple guns offer simplicity and portability. They work well for small projects or when you need to move frequently between fencing posts. However, extended use of manual staple guns may lead to hand fatigue during large installations.
Electric Staple Guns
For more efficiency and less physical strain, electric staple guns are a reliable alternative. Staple tools deliver consistent power with minimal effort, making them ideal for medium to large fencing projects.
Electric staple guns work faster than manual options while requiring access to a power source or battery. If working in remote areas, consider using a battery-operated staple gun for greater flexibility.
Pneumatic Staple Guns
For heavy-duty fencing, pneumatic staple guns outperform both manual and electric models. By relying on compressed air, pneumatic guns fire staples with impressive force, creating a strong hold, even with hardwood posts.
Choosing Staples for Wire Fencing Projects
Staples help with securing wire fencing to posts. Match the staple size and type to the wire gauge and fencing material for the best results. Heavy-duty staples, typically from one to two inches, work well for thick wires and high-tension fencing.
Galvanized staples resist rust and corrosion, making them perfect for outdoor fencing projects. Opt for barbed staples when extra holding power is necessary, as the design grips the wood firmly. Before starting your project, purchase a variety of staple sizes to match different sections of your fencing.
Preparing for a Wire Fencing Project
Preparation leads to smooth and successful wire fencing installation. Organize your tools and materials while prioritizing safety to reduce frustration and project delays.
Gathering Essential Tools and Materials
Assemble all necessary tools before starting the project. Key items include the following:
- Staple gun
- Fencing staples
- Wire fencing rolls
- Hammer
- Wire cutters
- Safety gear, such as gloves and eye protection
Learning how to use staple guns for attaching wire fencing simplifies the process, saving time and creating a secure hold that lasts. A prepared workspace saves time and keeps the project on track.
Setting Up Your Workspace for Safety
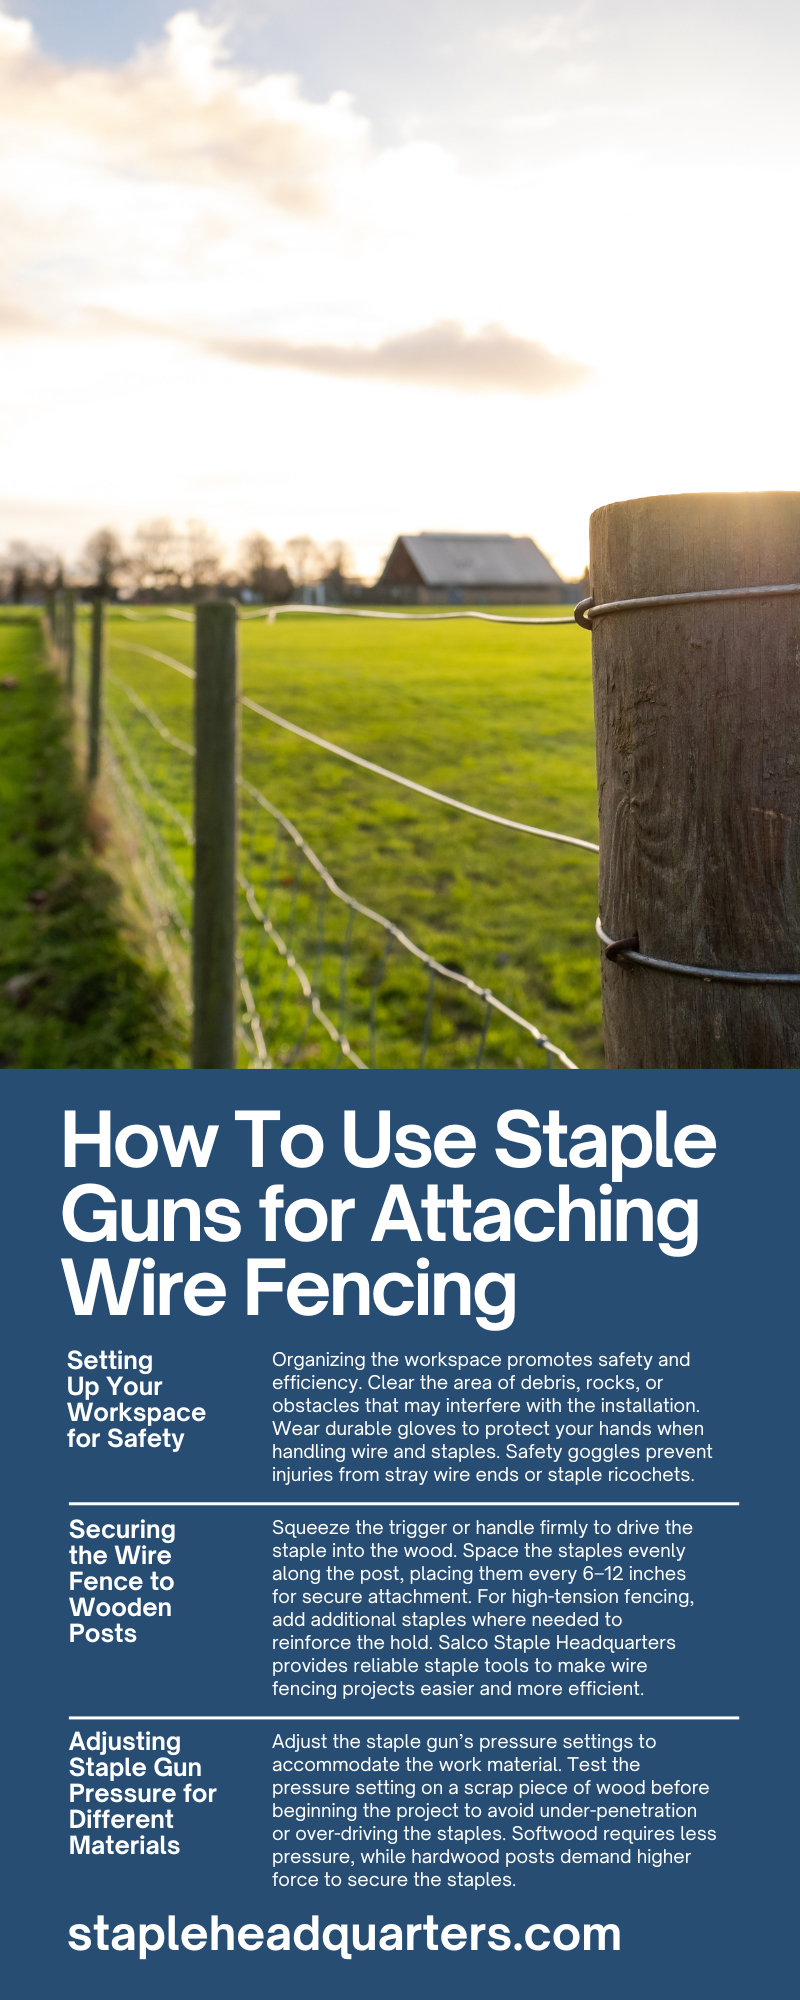
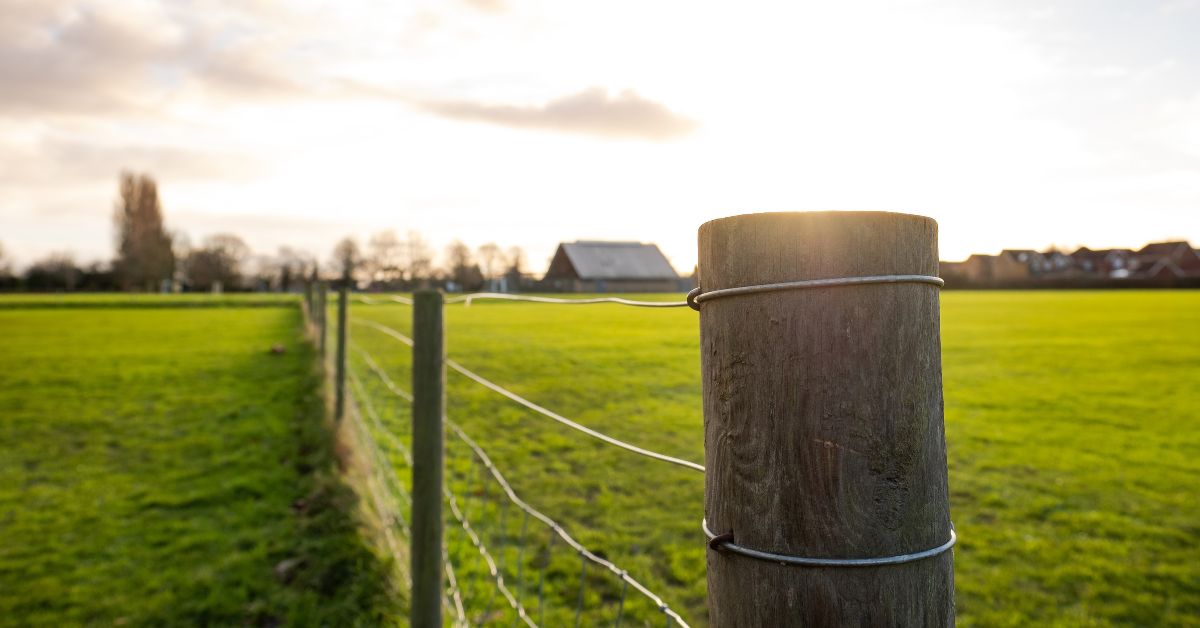
Organizing the workspace promotes safety and efficiency. Clear the area of debris, rocks, or obstacles that may interfere with the installation. Wear durable gloves to protect your hands when handling wire and staples. Safety goggles prevent injuries from stray wire ends or staple ricochets.
Position fencing rolls close to your work area for easy access. Stretch the wire fencing along the desired path and temporarily secure it with wire ties or clamps. Proper setup simplifies the stapling process and minimizes unnecessary strain on your body.
How To Use a Staple Gun for Wire Fencing
Using a staple gun correctly maximizes holding strength and speeds up the installation process. Follow these steps for a clean and efficient fencing job.
Securing the Wire Fence to Wooden Posts
Begin by stretching the wire fencing tightly against the wooden posts. Attach the fencing to one corner post first, using clamps or temporary ties to hold it in place. Position the staple gun at a slight downward angle, aligning the staple over the wire where it meets the post.
Squeeze the trigger or handle firmly to drive the staple into the wood. Space the staples evenly along the post, placing them every 6–12 inches for secure attachment. For high-tension fencing, add additional staples where needed to reinforce the hold. Salco Staple Headquarters provides reliable staple tools to make wire fencing projects easier and more efficient.
Adjusting Staple Gun Pressure for Different Materials
Adjust the staple gun’s pressure settings to accommodate the work material. Test the pressure setting on a scrap piece of wood before beginning the project to avoid under-penetration or over-driving the staples. Softwood requires less pressure, while hardwood posts demand higher force to secure the staples.
For electric or pneumatic staple guns, consult the user manual to adjust pressure or power levels. Consistent pressure prevents the wire from loosening over time and guarantees a sturdy fence.
Troubleshooting Common Staple Gun Issues
Staple guns occasionally experience problems during use, but quick troubleshooting restores their functionality and keeps the project moving.
Fixing a Jammed Staple Gun
Staple jams occur when a staple becomes stuck inside the gun’s firing mechanism. To fix the issue, disconnect the staple gun from its power source or air compressor. For manual guns, release tension in the handle.
Open the staple compartment, and remove the stuck staple using pliers or a small screwdriver. Finally, clear debris from the firing mechanism before reloading the staple gun. Regularly checking for jams during use reduces downtime and keeps the tool working smoothly.
Ensuring Staples Hold Wire Fencing Securely
Learning how to use staple guns helps with attaching wire fencing without damaging it. Proper staple placement in the post prevents the wire fencing from loosening or sagging. Drive staples over the wire so that it can move slightly while maintaining tension. Also, avoid spacing staples too far apart, as this may compromise the fence’s strength over time.
Maintaining Your Staple Gun
Routine maintenance extends the lifespan of staple guns and guarantees consistent performance during projects. Follow these simple care practices to keep the tool in top condition:
Cleaning and Lubricating the Staple Gun
After use, clean the staple gun to remove debris. Use a soft cloth or compressed air to clean the tool’s exterior and interior components. Also, lubricate moving parts with a few drops of oil to prevent friction and wear. For pneumatic staple guns, check air hoses and connections for leaks or damage.
Storing Your Staple Gun and Accessories
Store the staple gun in a clean, dry location to prevent rust or corrosion. Use the original carrying case or toolbox to protect the tool from impacts. You can keep staples and accessories organized in separate compartments for quick access during future projects. At Salco Staple Headquarters, we provide the tools and accessories you need to keep staple guns working efficiently for years!