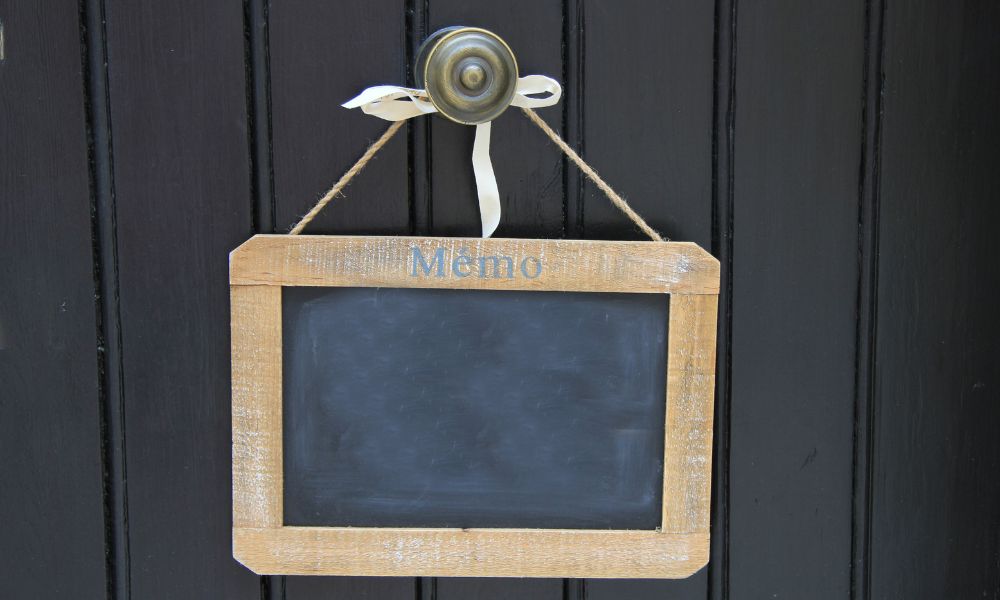
While a memo board is excellent for function, its form isn’t always aesthetically pleasing. A bland memo board does the job well, but what if you want to spruce things up? You should probably introduce fabric into the design. So, what are some excellent ways you can create a custom fabric memo board? Check out our suggestions and advice below.
Tools Needed
There are many tools that you need before you start this project. The first and most obvious is fabric. The fabric you choose should be a style you like that’s easy to affix to the board. You’ll need tape and a ruler to measure the board’s dimensions and the fabric and a craft knife to cut things. Finally, a furniture stapler will allow you to bring everything together. Spray adhesive and flat-head tacks can also be beneficial for this project. Additionally, if you plan to hang your memo board, you will likely need a hammer and nails.
Introducing the Process
There are a couple of ways you can start the process of making your board. No matter what you do, you should first cut your fabric according to the board’s dimensions. You can best do this by putting the fabric over the board, adhering it temporarily, and cutting at the edges. After that, there are a variety of ways to make your board unique.
Burlap Memo Board
If you want to create a memo board made of burlap, you can affix the fabric onto your fabric, flip the board over, and cut and iron your burlap. Don’t forget to run over the fabric with a hot iron! Burlap is temperamental at times, so ironing ensures it will more readily stay in place. Finally, staple the burlap behind the frame and hammer down on the tacks.
Erasable Memo Board
If you want to make an erasable memo board, dissemble whatever frame your board has. Don’t worry—you’ll put it right back! If you want, at this point, you can create a cardboard cut-out to use as a backing. However, you can skip this step if the backing has a frame already.
After that, you’ll want to mark, measure, and cut cardboard to fit the back of the frame. Next, cut off a piece of wrapping paper and affix it to the backing. Finally, you can wrap your fabric around the front and tack it in the back.
French Memo Board
If you want to make a French memo board, you’re in for a treat! First, you must get your hands on some quilt batting and then cut it. Lay it on the board’s surface, and make sure that the edge is 2.55 cm longer than the edge of the canvas. You want to be able to affix the quilt to the back of the board, so this allowance is especially important. After that, you should place a canvas face down in the middle of the batting. Iron the fabric and cut it to size. Use your electric or manual stapler to affix it to the back of the board, and you’ll be ready to place memos on the front! This method is one of the best ways to create a custom memo board that brings character to your space.
If you want to DIY a memo board, we have the right tools! Shop Staple Headquarters if you’re looking for the best DIY tools on the market.